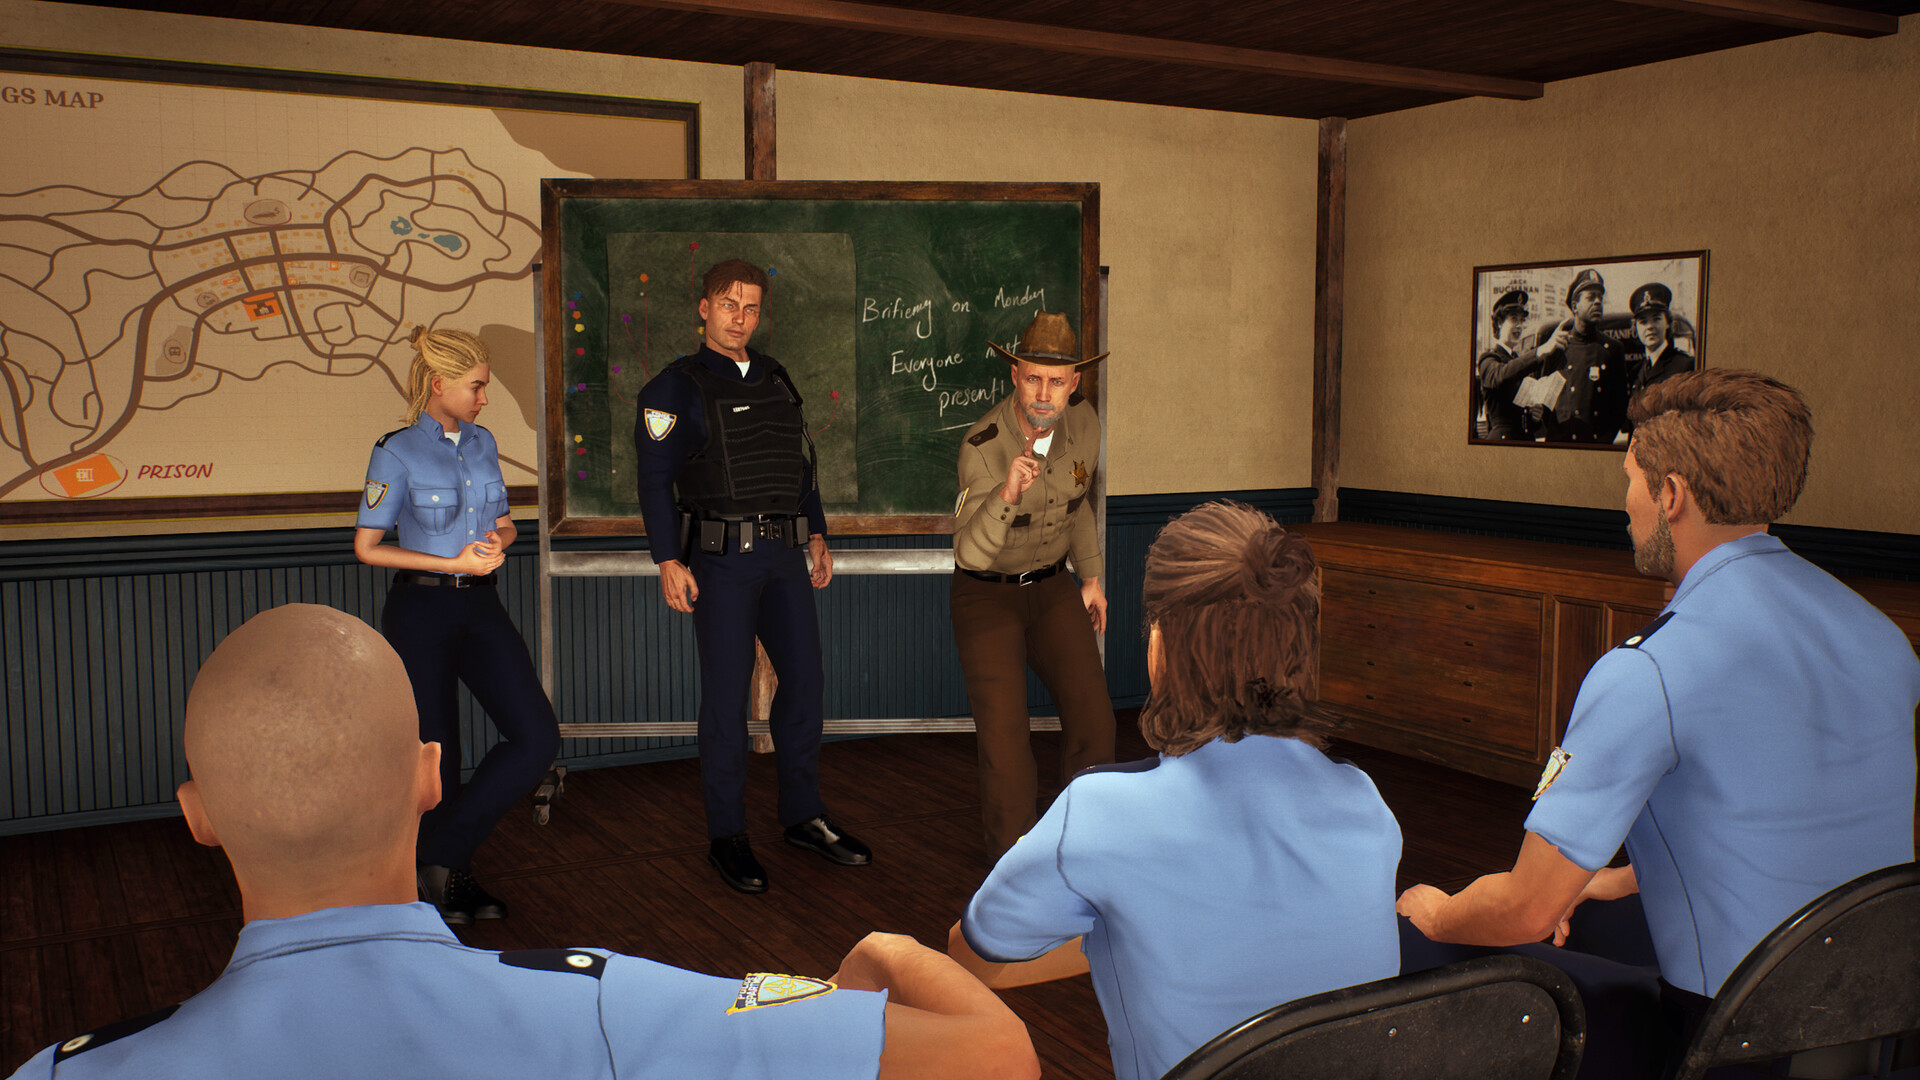
What the briefing room is
The briefing room is where management becomes action. The official devlog describes it directly: prepared cases arrive in the Briefing Room, and the chief selects a case on the Briefing Board, assigns officers, chooses equipment, and sends the team into the city. It is the doorway between your paperwork economy and the street economy of arrests, tickets, and district control.
Physical placement matters less than pipeline: the room consumes expanded cases (from the detective room) and staff (from the locker room), so it sits mid-way through the build order of every successful community run. Before it exists, your officers have no job; after it, they are your second income stream — and your main source of prisoners to book.
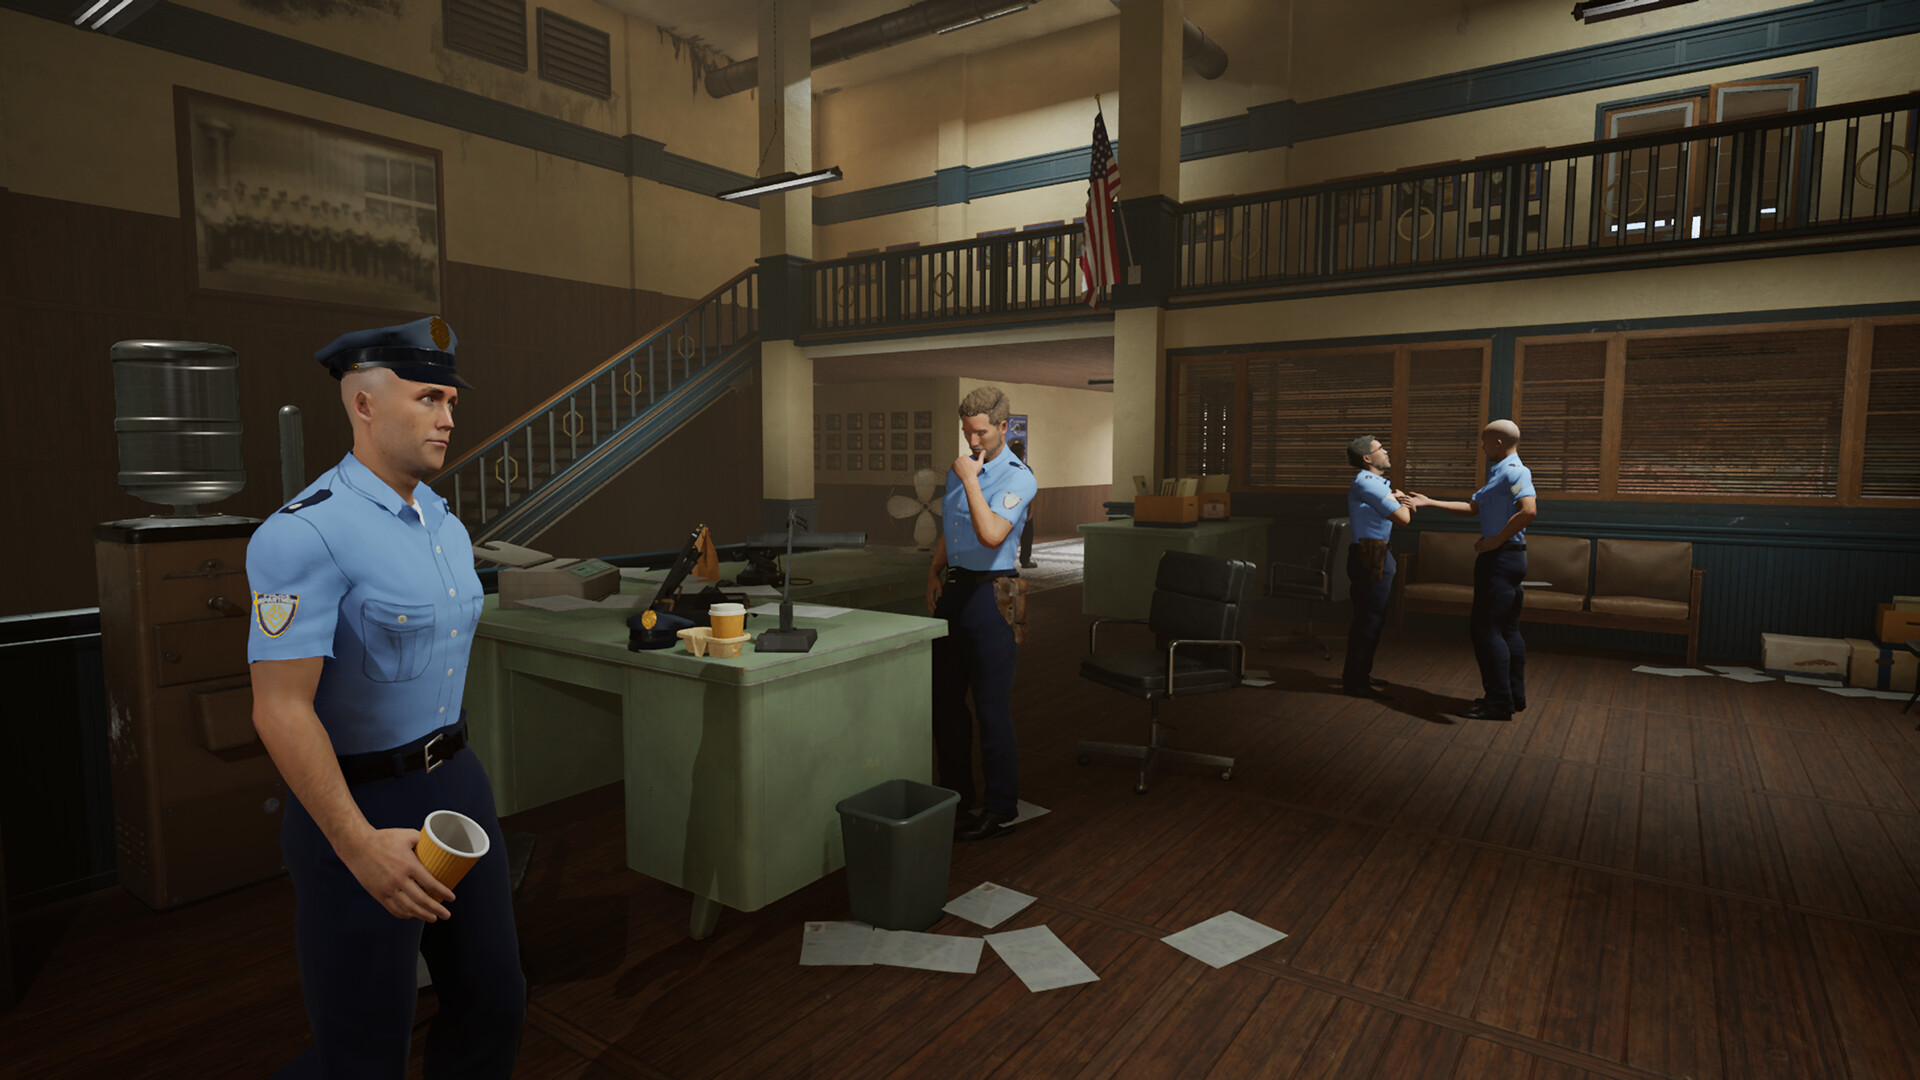
It is also the room that changes how the game feels: up to this point the station reacts to visitors; from this point it projects force into the city. Every run's 'it clicked' moment happens on this board, usually the first time two missions come home while you are mid-inventory.
Cost and unlock chain
The room itself cost $1,250 in the most detailed player footage. The unlock is a chain, not a single purchase: buy the room, take Ron's follow-up call ordering you to 'grow the team', buy two additional lockers from Tony's (about $500 total), hire at least two officers through the Hired In app, and assign them to the room before the board becomes usable.
Two later rooms upgrade the flow: the armory (about $950) stocks guns and handcuffs for missions, and the garage (about $1,450) adds vehicle dispatch — in-game text says vehicles 'slightly increase the chance of mission success and reduce the time needed.' Budget all three if you plan to take three-star cases seriously; a briefing room without them tops out at two-star work.
The chain has a nice property: each step is affordable right after the last one pays out. Room, lockers, hires, then missions — the sequencing teaches you the game's real lesson, which is that capacity is bought in stages and each stage funds the next.
How the briefing board works, step by step
The board holds multiple case slots fed by your detective room. Each file shows its star rating (missions range from one to five stars) and a live success percentage. The documented sequence: select the case, assign officers — each pair adds success points, and an officer's strength stat contributes — then add equipment from the armory, then dispatch.
Time is the hidden resource. Missions show a timer on the Winston Springs map (players recorded 1:51, 1:23, and about 30 seconds for different runs), the day must not end mid-mission or the mission fails, and multiple boards can run dispatches per day once you have the staff. Successful teams return with a prisoner who heads to your holding cells for booking — the $60 mission fee is only the start of that file's earnings.
The board rewards batching: one officer pair per mission is fine at two stars, but three-star files want the full treatment — two officers, two cuffs, two guns, a vehicle — because the difference between 80% and 100% is the difference between income and a story about the one that got away.
What missions pay and risk
A successful dispatch pays about $60 plus reputation in observed footage, and its prisoner feeds the prison-booking payouts ($75–$250). Because the officers do the work, mission income scales with how many equipped teams you can field — this is the game's closest thing to passive income, and the reason veterans hire more officers than the desk seems to need.
The risks are odds and time. Players documented a 99% mission failing because the day ended mid-mission, and an officer dying on a 100% three-star case — rare but real. The practical discipline: dispatch early, keep odds at or near 100% for anything above two stars, and save before gambling a file you cannot afford to lose.
One quiet cost to remember: missions consume your own case pipeline. Every file on the board is a file not faxed, so the briefing room only pays when its expected value — mission plus prisoner — beats the fax. Past the early game, it always does.
Briefing-room mistakes to avoid
Watch outThe common failure pattern is buying the room too early: without lockers, hires, and a detective room producing expanded cases, the board sits empty and $1,250 sits wasted. The room is a mid-game unlock in every successful run — after the detective room is profitable, before the big level-2 station bill arrives. One more failure class to know: officers getting stuck behind doors mid-mission was a launch-week complaint, and while Hotfix #1 (September 18) fixed the documented detective-pathing cases, any repeat on the current build goes to the Steam hub with your build number.
The second mistake is starving it of gear. Teams sent without handcuffs underperform the odds, and the armory-wall workflow (grab cuffs and a gun per officer) exists precisely because unequipped missions waste case files. Treat the briefing room, armory, and garage as one system and buy them in that order.
Do both right and the room pays for itself within a few in-game days — and from then on, the most common sound in your station is the front door opening as another team comes home with the handcuffs still warm.
If budget forces a choice inside this system, community consensus ranks the armory above the garage for pure mission economics — gear raises odds on every dispatch, while the vehicle mostly saves time. Buy the garage when three-star missions are routine, not when you first see one on the board.
The final framing that helps: the briefing room is the game's contract between its two halves. Paperwork feeds it, streets pay it, and the room itself is where the chief stops being a clerk with a badge and starts being a commander. Everything before it is tutorial; everything after it is the campaign.